Hello, beauties! Today I’m sharing 5 must-try shea butter recipes for all you gals out there with natural hair. You don’t need a whole load of products to help manage natural hair, you can simply whip up your own natural hair moisturizer, conditioner, hair masks and even a scalp massage oil with natural ingredients as seen below. Alright! It’s time to bounce your curls back to life with these 5 easy shea butter recipes for natural hair:
Note: For most of the recipes below, I actually used East Shea Butter a.k.a Shea Butter Nilotica and I can tell you that it’s so much better than West Shea Butter because of its light & non greasy consistency plus much better scent! The nutty smell of West shea butter that is unbearable for some people will NOT be an issue at all if you use East Shea Butter. Here’s where to get it.
1. Shea Butter Hair Mask for Bouncy Curls
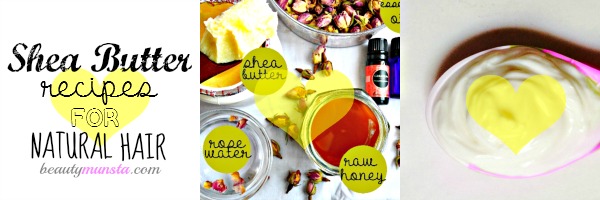
In this hair mask, we’ll be using only 4 ingredients including; shea butter, grapeseed oil; which is a light odorless oil that acts as a moisturizer and combats dryness, rosemary essential oil; which is known to promote hair growth, combat dandruff, soothe itchy scalps and prevent hair loss and finally geranium essential oil; which soothes inflammation, stimulates hair growth & strengthens the follicles while making your hair smell heavenly.
What you need
- 3 tbsp raw shea butter (where to get it)
- 1 tbsp grapeseed oil (where to get it)
- 2 drops of rosemary essential oil (where to get it)
- 3 drops of geranium essential oil (where to get it)
- Double boiler (where to get it)
- Hand mixer (where to get it)
- Storage container (where to get it)
Directions
- Using a double boiler, melt your shea butter until it liquefies. Set it aside to cool for a few minutes.
- Add 1 tbsp of grapeseed oil, 2 drops of rosemary essential oil and 3 drops of geranium essential oil. Mix well to combine.
- Now pop your bowl in the refrigerator, wait for about 15 minutes then come back and whip it up with a hand mixer to get a creamy mixture.
- Apply the mixture to your scalp and strands and pin up your hair with a clip. Cover with a saran wrap or shower cap and leave it to penetrate for about 30 to 40 minutes. When the time is up, shampoo & wash your hair with as many rinses as possible to prevent any oily residue. Use a natural sulfate-free shampoo if possible. You may not need to condition after shampooing since the mask itself is very conditioning!
2. Whipped Shea Butter Hair Cream
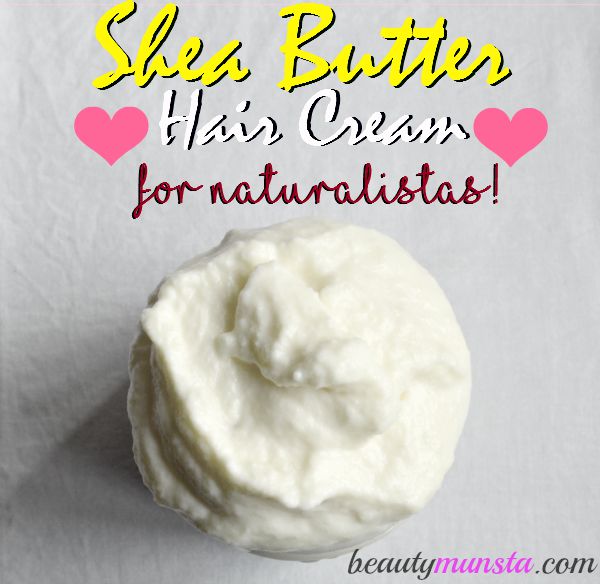
Lavender essential oil used in this DIY whipped shea butter recipe not only soothes and calms the scalp and protects it from inflammation & irritation but also gives your hair a fresh floral scent. Coconut oil nourishes your hair follicles and promotes hair growth while rose water hydrates and cools your scalp.
Ingredients
- 1/4 cup of raw Shea butter (get it here)
- 2 tablespoons of coconut oil (get it here)
- 1 tsp apricot kernel oil (get it here)
- ¼ cup of pure aloe vera gel (get it here)
- 10 drops of rosemary essential oil (get it here)
- 2 drops of chamomile essential oil (get it here)
- Hand mixer (where to get it)
- Storage container (where to get it)
Directions
- Add 1/4 cup of raw shea butter and 1 tbsp of coconut oil in a double boiler and gently melt them to liquid form.
- Let it cool for a few minutes before adding 5 drops of lavender essential oil and 1 tbsp of rose water. Mix well with a spatula.
- Pop the bowl in the freezer for about 10 minutes.
- When the time is up, using a hand mixer, whip the mixture for about 15 minutes until it’s all white and creamy. Store in a glass jar.
3. Citrusy Shea Butter Hair Conditioner Recipe
Get ready to smell amazingly c-i-t-r-u-s-y with this shea butter hair conditioner scented with sweet orange essential oil. Orange essential oil is a natural astringent which controls excess sebum on the hair. Argan oil is known to be one of the best natural hair conditioners out there while coconut oil is a wonderful hair moisturizer and also adds a natural shine to your curls. I’m adding raw honey for that extra nourishment your hair needs as honey is super rich in anti oxidants that fight off free radicals that cause premature greying of hair.
Ingredients
- 3 tbsp raw shea butter (get it here)
- 1 tbsp argan oil (get it here)
- 1 tsp coconut oil (get it here)
- 1 tsp raw honey (get it here)
- 7 drops of sweet orange essential oil (get it here)
- Hand mixer (where to get it)
- Storage container (where to get it)
Directions
- Melt the shea butter and coconut oil using a double boiler or even a microwave until it has liquefied. Set aside for it to cool down for about 3 minutes.
- Add in the argan oil, raw honey, essential oil and mix well.
- Whip the mixture till you get a white and creamy natural hair conditioner.
- Apply it on your hair after a wash for softer curls and easier detangling. Rinse thoroughly after 10 minutes and your hair will smell so heavenly & citrusy, trust me! PS: You can also use this recipe for a co-wash as well!
4. Non-greasy Shea Butter Hair Lotion
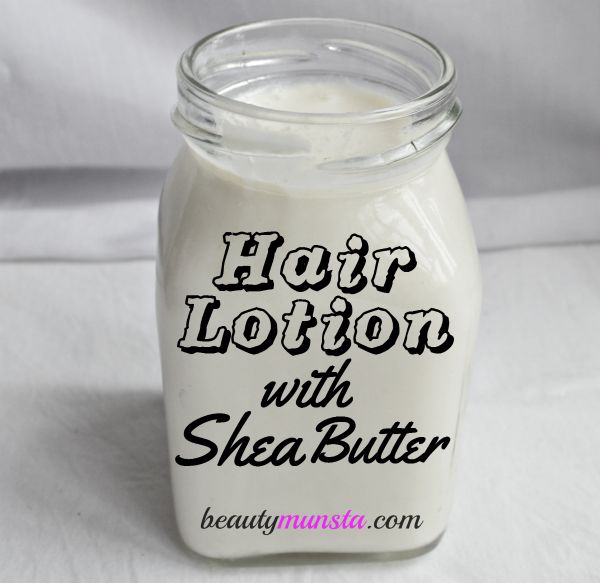
You must have noticed some shea butter hair lotions leave your hair with an oily residue and greasy roots! Grr…I’m totally not a fan of hair products that make my scalp and hair look greasy like it’s not been washed. Fortunately, this shea butter hair lotion is non-greasy and does not coat your hair with gallons of oil. Check out the ingredients:
Ingredients
- 4 tbsp of raw shea butter (get it here)
- 1/4 cup of orange blossom water (get it here)
- 3 drops of tea tree essential oil (get it here)
- 3 drops of peppermint essential oil (get it here)
- 3 drops of bergamot essential oil (get it here)
- High speed blender (where to get it) or Immersion blender (where to get it)
- Mason jar for storage (where to get it)
Directions
- Use a high speed blender or immersion blender for this shea butter hair lotion recipe.
- Start by melting the raw shea butter using a double boiler then transfer it to a blender and blend on high. Or, pour it into the jar with the orange blossom water then blend till creamy with an immersion blender.
- When it gets creamy, slowly pour in the orange blossom water little by little, while the blender is blending the shea until fully incorporated. It will take about 3-5 minutes to turn into a white semi-thick liquid.
- Transfer the mixture into a glass jar. Stir in the essential oils and voila!
- To apply, just get a dime sized amount, rub it between your palms and sooth over your hair strands to keep them moisturized and glossy.
5. Therapeutic Shea Butter Scalp Treatment
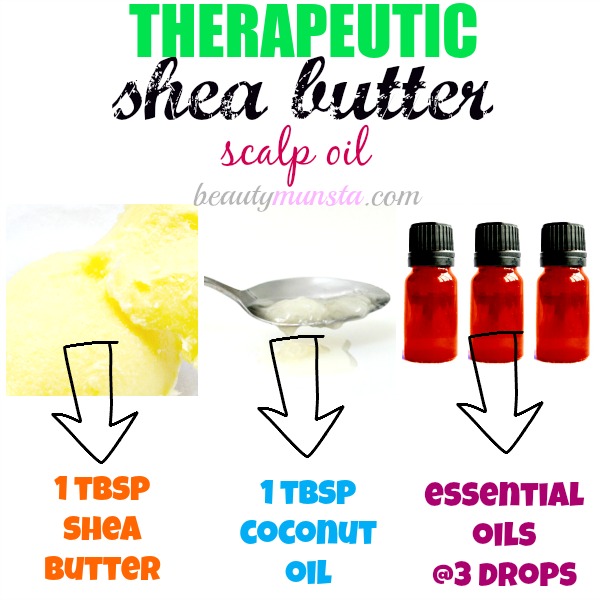
The array of essential oils we’re using in this shea butter scalp oil not only calm and soothe your scalp but also fight dandruff, strengthen the follicles and promote hair growth! Coconut oil acts as the second base in this shea butter scalp treatment but it also has lots of beauty benefits for the scalp. I’ve talked about how great eucalyptus essential oil is for hair loss here.
Ingredients
- 1 tbsp raw shea butter (get it here)
- 1 tbsp of pure coconut oil (get it here)
- 1 tsp of jojoba oil (get it here)
- 3 drops of thyme essential oil (get it here)
- 3 drops of eucalyptus essential oil (get it here)
- 2 drops of cedar wood essential oil (get it here)
- 3 drops of vitamin E oil (get it here)
- Double boiler (where to get it)
Directions
- As usual, start by melting your shea butter and coconut oil in a double boiler.
- When its melted and cooled, start adding all the carrier and essential oils. Add the vitamin E oil as well. If using vitamin E capsules, simply puncture them and squeeze the oil to the mixture and stir well using a spatula. Your treatment is ready!
- To use, gently massage the shea butter scalp oil onto your scalp using your finger tips. Make sure not to apply the shea butter oil mixture on your hair strands.
- Cover your hair with a shower cap or plastic bag to trap heat so the treatment can penetrate deeper. Leave the hair treatment on for at least 40 minutes. Wash off really well with your favorite shampoo to get rid of all the oils.
Take Care
- Be careful while using essential oils as a little too much may cause burning sensations. Always mix them with carrier oils or base lotion/cream before use. Also make sure to only buy 100% pure and high quality essential oils.
- Please purchase raw shea butter for all your hair and skin care recipes!
- If you’re allergic to any of the above ingredients, then please do not use them.
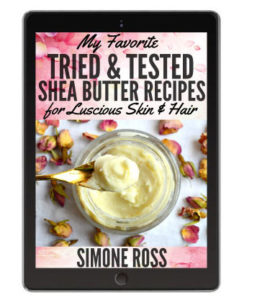
My Favorite Tried & Tested Shea Butter Recipes Ebook
Do you love shea butter and want to make your own beauty products with it?! Check out my book “My Favorite Tried & Tested Shea Butter Recipes for Luscious Skin & Hair” for 30 awesome recipes, complete with step-by-step instructions, beautiful pictures and other valuable shea butter info!


Your homemade shea butter hair products in your EBook were amazing! So worth it! Thanks for the information! xx I especially love the deep conditioning hair milk! So luxurious for 4c hair
Hi there! I’m so glad you loved the hair recipes in the eBook! The hair milk is one of my favorites too and it’s especially nourishing for dry curly hair 🙂 Hope you try out the other luxurious shea butter recipes too! <3
Hi! I was wondering what oils I could replace the frankincense essential oil with for the whipped shea butter hair cream? I’d like mine to smell more fresh rather woody.
Hi Sasha! For a fresher scent, use peppermint or eucalyptus essential oil instead 🙂
Hello, i love a lot this web site and i even tried the first recipe you mentioned in this article. The problem is i dont know how the texture should be. The hair mask i have prepared is very stiff, it is hardened very much and i barely can use it. What have i done wrong? The mask should be a bit liquid? thank you in advance.
Hi, i have tried the first recipe you mentioned in this article (with shea butter hair mask) and it it is very stiff and solid. I really dont know how the texture should be.
Should be like a liquid pomade or like a face cream? Definetely, the hair mask i’ ve prepared it is not what it should be. Thank you very much. https://uploads.disquscdn.com/images/f4f5ae68d4d887a7b216a03b9f479d3fdd3b607503d5e9b70f880345335be66a.jpg
Hi Oana! Thanks for the beautiful picture! 😀 The texture of the mask should be smooth enough to be able to be scooped using your fingers. I think you live in an area with a cold climate because the mixture shouldn’t turn very stiff. What you can do to make it usable is put the jar in a bowl of hot water. This will soften the mask, making it easy to apply! Next time, try adding more grapeseed oil or any other oil to make the mask more liquidifed. Take care xoxo
Hey, thank you very much for you advice. I will do as you recommended to me. Perhaps, my mistake was to keep the hair mask in the refrigerator for more than 15 minutes. What do you think?