Extra Dry Skin Needs Extra Care
If you already have dry skin, the lack of humidity and low temperatures of winter tend to make it worse. Many people suffer from dry, flaky, cracked, and irritated skin especially in winter. There’s so many commercial moisturizers with complex, expensive, and often chemical-and-artificial-fragrance laden additives, which can actually irritate your skin even more. That’s why this winter, I want you to make this really easy, all natural DIY Winter Balm that you can whip up in 5 minutes or less!
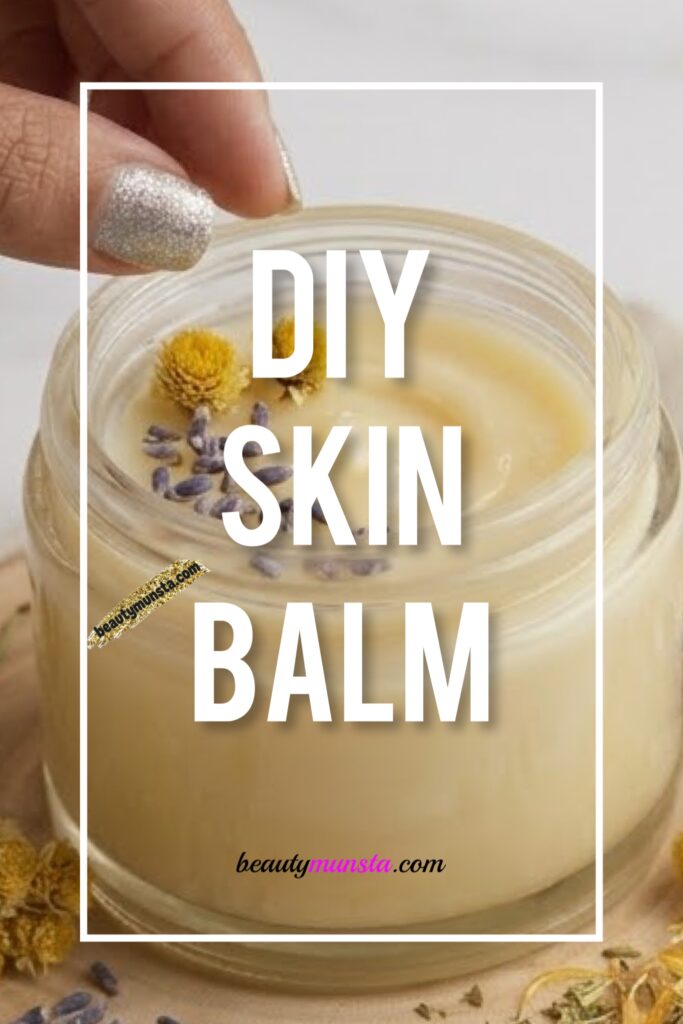
Why Make Your Own Skin Balm?
I don’t know about you, but I stopped trusting commercial skincare a long time ago. Products containing a bewildering array of complicated ingredients just add to the toxic overload that our bodies have to deal with. This All-in-One Winter Balm is different: it has minimal, natural, botanical ingredients. Instead of synthetic fragrances and complex emulsifiers, I use five core, nutrient-dense ingredients that are recognized for their skin-nourishing properties.
This balm works because it targets the root causes of winter skin distress. Cold air has low humidity, drawing moisture out of the skin. Indoor heating further exacerbates the problem. This DIY winter balm acts as a potent occlusive barrier, sealing in skin’s natural moisture while providing a good dose of vitamins, fatty acids, and antioxidants.
What You’ll Need:
- 3 Tablespoons of Shea Butter
- 3 Tablespoons of Jojoba Oil
- 1 Tablespoons of Coconut Oil
- 1 Tablespoon of Beeswax
- 1 Tablespoon of Vitamin E Oil
- 10 Drops of Essential Oils (Optional, read below)
Why These Ingredients?
This balm is a synergy of natural ingredients that each play a crucial role, take a look:
- Shea Butter: The Gentle Giant
- The Foundation of Moisture: Shea butter, extracted from the nuts of the African shea tree, forms the base of this balm. It’s an incredibly rich moisturizer, high in fatty acids like stearic and oleic acid, which are excellent for nourishing dry skin.
- Soothing Properties: It contains compounds with soothing and anti-inflammatory effects. This is particularly beneficial for skin irritated by windburn or eczema.
- Vitamin Content: Shea is naturally rich in vitamins A and E, which promote healthy skin cell turnover.
- Jojoba Oil: The Skin’s Twin
- Bio-Mimicry: Perhaps the most unique characteristic of jojoba oil is how closely it resembles the human sebum (the oil naturally produced by our skin). This allows it to be absorbed easily without leaving a greasy residue, helping to balance the skin’s oil production.
- Lightweight Hydration: It provides deep hydration without feeling heavy.
- Stabilizing Partner: Jojoba is highly stable and resistant to rancidity, extending the shelf life of your balm.
- Coconut Oil: The Antibacterial Emollient
- Fast Absorption: Known for its quick absorption, coconut oil helps deliver nutrients deep into the skin’s layers.
- Antimicrobial Protection: It contains lauric acid, which has well-documented antimicrobial and antifungal properties. This can be especially helpful for protecting compromised or cracked winter skin from opportunistic infections.
- Note for Some Skin Types: While many people swear by coconut oil, those with very acne-prone skin on their faces should use it cautiously, as it can be comedogenic for some. However, it’s generally excellent for the rest of the body.
- Beeswax: The Form and Function
- Texture and Structure: Beeswax is what turns this recipe from a runny oil into a firm, yet melty, balm. It provides the consistency and substance.
- Occlusive Barrier: More importantly, beeswax forms a protective, humectant-loving layer on the skin. It seals in moisture without clogging pores, acting as a second skin against the harsh elements.
- Skin-Loving Compounds: Beeswax itself contains natural skin-softening and anti-inflammatory agents. Vegan-Friendly Option: If you prefer to skip beeswax, you can substitute with a vegan alternative like candelilla wax, using slightly less as it can be firmer.
- Vitamin E Oil: The Antioxidant Powerhouse
- Skin Health: Vitamin E is a renowned antioxidant that helps protect skin cells from damage. It promotes healing, can help reduce the appearance of scars, and deeply moisturizes.
- Preservative Partner: As an antioxidant, it also helps to protect the other oils in the balm from oxidation, thus acting as a natural preservative and extending the overall shelf life of your product.
- Essential Oils (10 drops): The final ingredient is where you get to personalize your balm. This small addition of essential oil (eo) can provide additional benefits and a delightful, subtle scent.
- Lavender essential oil: For Relaxation and Soothing. Its calming scent is excellent, and it has skin-soothing properties.
- Frankincense essential oil: Consider a few drops of frankincense for their skin-regenerating properties. Use helichrysum if you don’t have frankincense.
- Lemon essential oil: For Invigoration. A mix of lemon (caution on sun exposure) and peppermint (use sparingly, can be tingling) can be very refreshing.
How to Make Your All-in-One Winter Balm: Step-by-Step Instructions
Gather your ingredients and tools you probably already have in your kitchen and let’s get to it!
Equipment:
- A heat-safe glass jar (or a small double boiler)
- A small pot to serve as a water bath
- A clean spoon or small whisk for stirring
- A final container for your finished balm (glass jars are ideal)
Process:
- Set Up the Double Boiler: This is crucial. Never heat oils and butter over direct flame. Instead, place a heat-safe glass jar inside a small pot. Add an inch or two of water to the pot.
- Combine Hard Ingredients: Add the shea butter, coconut oil, and beeswax to the inner glass jar.
- Gentle Heat: Heat the pot of water over low to medium-low heat. The goal is to melt the solid ingredients slowly. Direct, high heat can degrade the nourishing properties of the oils. Stir gently as everything melts.
- Add Liquid Carrier Oil: Once the solids are mostly melted, stir in the jojoba oil. It should blend seamlessly. Once everything is completely liquid and clear, remove the inner jar carefully from the hot water.
- Cooling and Final Additions: Let the mixture cool for just a minute. You want it to be warm, not hot. This is a critical step because high heat can damage essential oils.
- Add the Extras: Once the mixture has cooled slightly, stir in the Vitamin E oil and your chosen essential oils.
- Pour and Set: Carefully pour the warm, liquid balm into your final storage container. Let it sit undisturbed on the counter until it is completely cooled and solidified. Resist the urge to use it while it’s still warm!
- Label and Store: Once set, screw on the lid. Label it with the name and the date you made it.
How to Use Your All-in-One Winter Balm
The name says it all, this balm is incredibly versatile.
- As a Face Balm: For extremely dry or wind-burned skin, it can be a deeply moisturizing treatment. (Again, use caution if you have acne-prone skin on your face, perhaps testing a small patch first or omitting the coconut oil in a facial-specific batch).
- As a Body Lotion: It’s a luxurious all-over moisturizer, especially effective after a warm bath or shower while skin is slightly damp.
- For Dry Hands & Feet: This is perhaps where it shines most. The occlusive nature of the balm is perfect for sealing moisture into hard-working hands and cracked heels. Try applying a thick layer before bed and sleeping in cotton gloves and socks for an intense overnight treatment.
- For Dry Patches: Use it as a spot treatment for stubborn dry areas like elbows, knees, or cuticles.
- As a Lip Balm: Its protective barrier makes it an excellent, long-lasting lip balm. Transfer some into a small tin to keep in your pocket.
It’s So Amazing You That Turned to Natural Products
Making your own balm is more than just a money-saver. It is an act of self-care and a step towards a more sustainable lifestyle. By controlling the ingredients, you eliminate plastics and harmful chemicals from your routine. You are actively choosing to put simple, potent, and recognizable natural substances onto your largest organ, your skin.
Caution:
Essential oils should always be used with caution. Always patch test a new blend on a small area of skin. If you are pregnant, nursing, or have serious health conditions, consult with a professional before using essential oils).

Related Posts
 Homemade Lotion Bar Recipe without Beeswax
 The Ultimate Guide to Dry Brushing: Benefits, Step-by-Step Guide, and Tips for Glowing Skin
 How to Make Citrus Oils – Lemon, Lime, Orange – Citrus Oil Benefits & Uses
 Homemade Toothpaste Recipe without Baking Soda For Sensitive Teeth
 Clay and Honey Face Wash for Sensitive Skin
Leave a Reply